
Last updated September 20, 2026
Full 25-point door and opener safety check with every visit - springs, cables, rollers, tracks, and your LiftMaster or Chamberlain opener included
You get a price before we start. It does not change when the truck arrives.


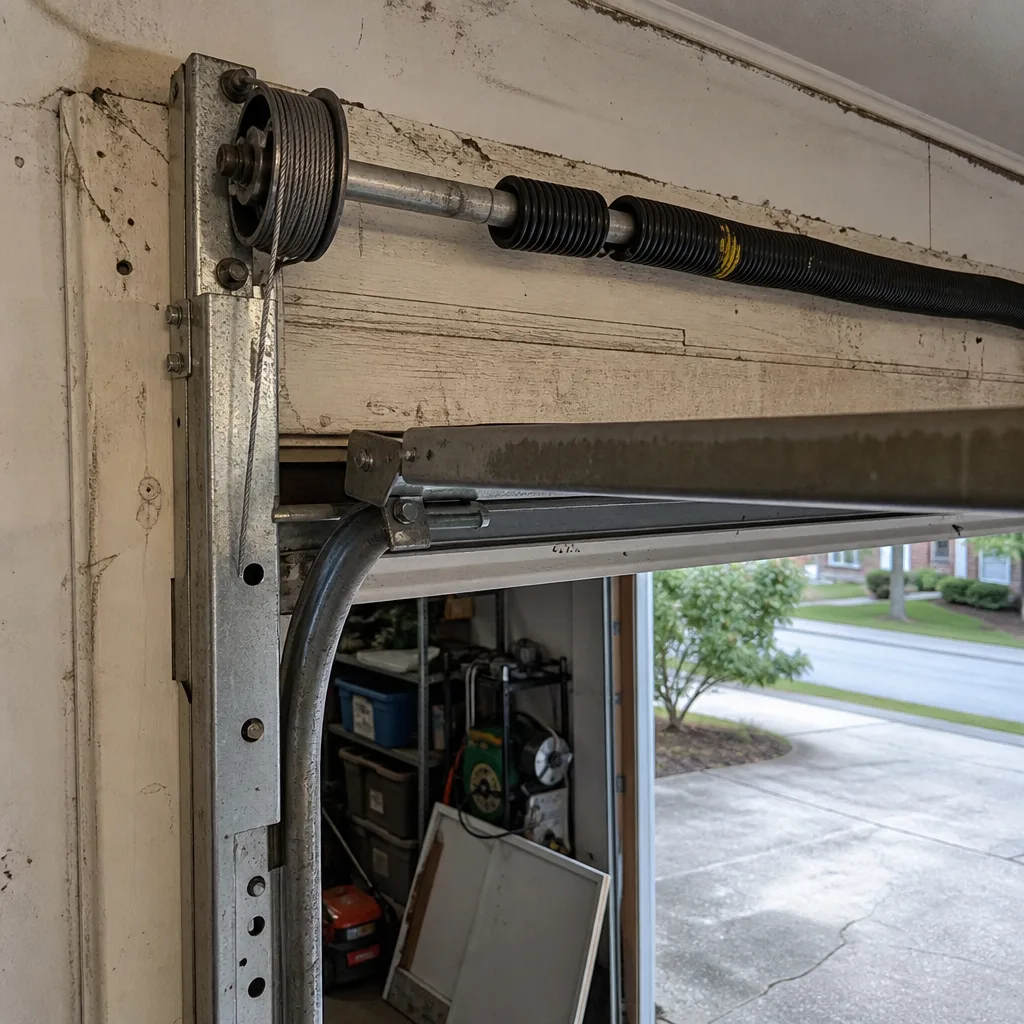 Before
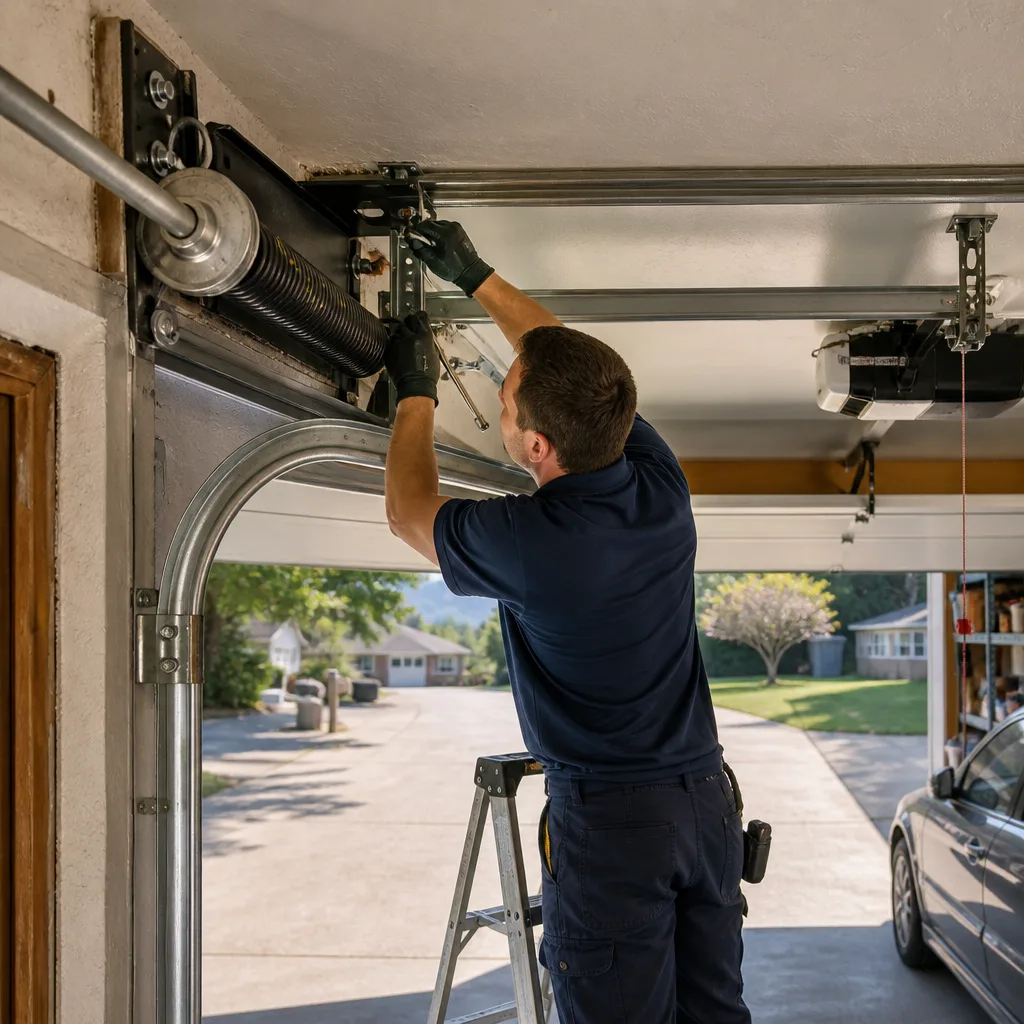 After
After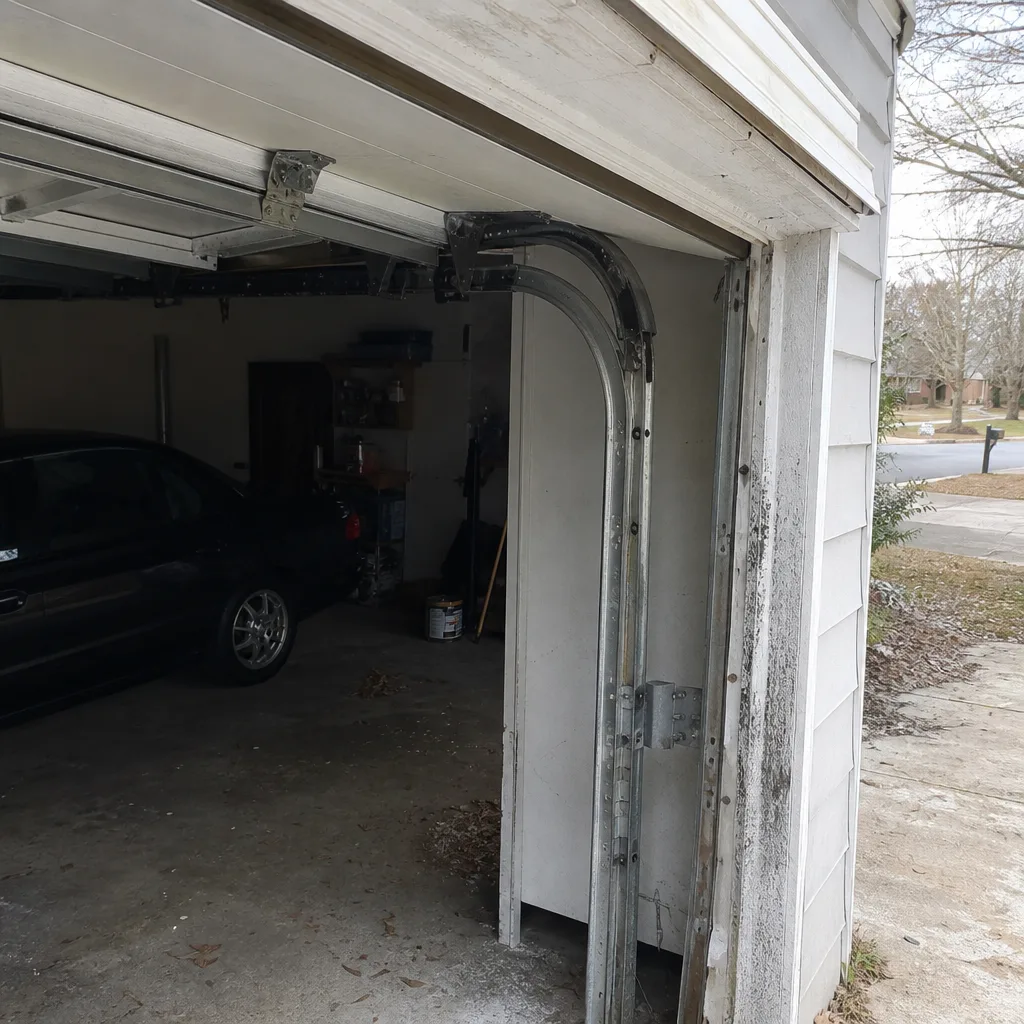 Before
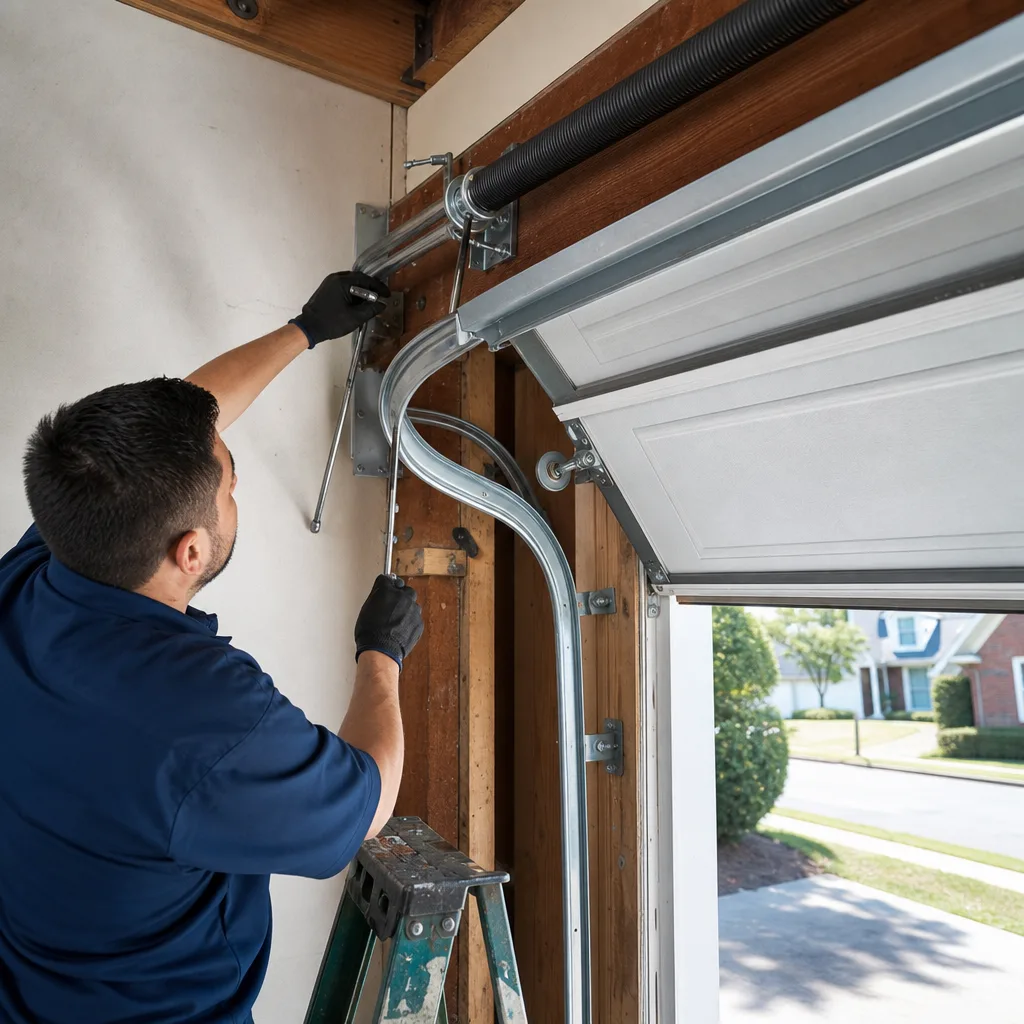 After
After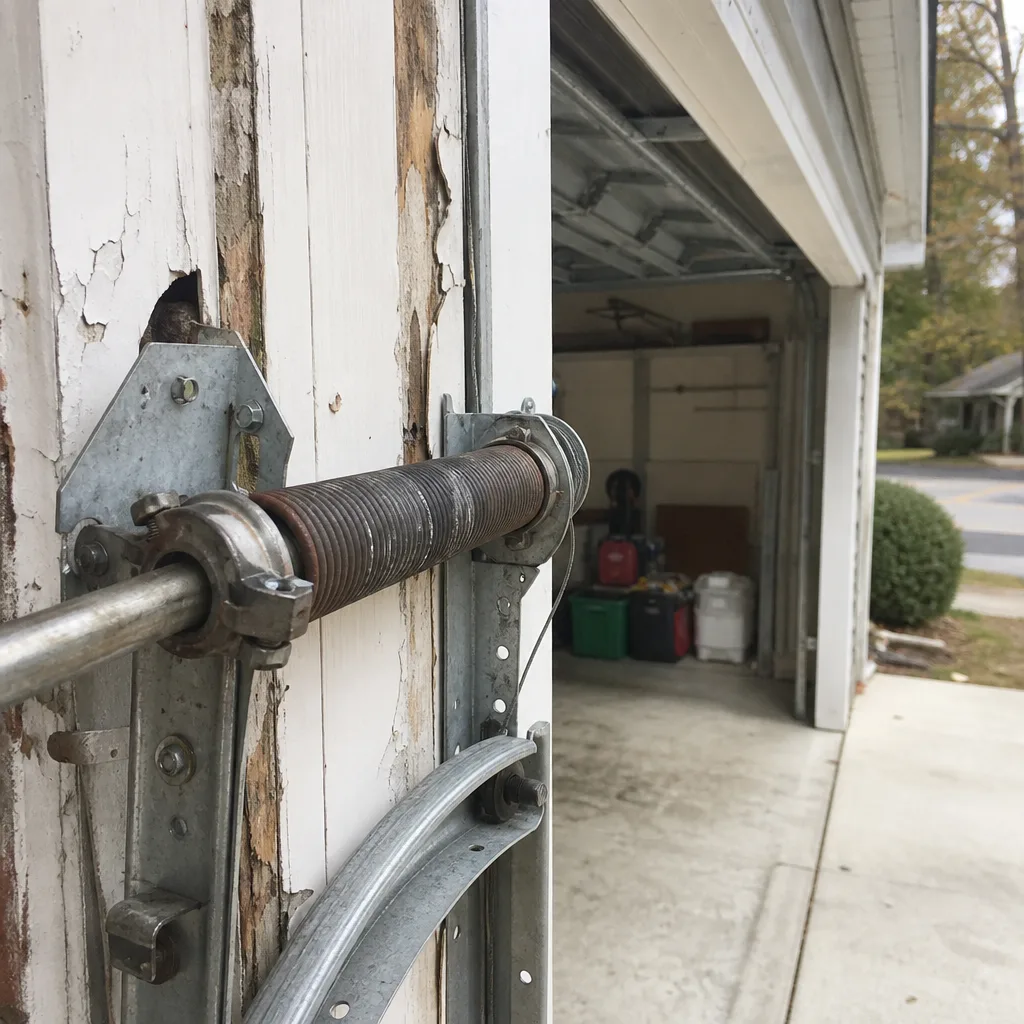 Before
 After
AfterGarage Door Repair Maintenance Checklist for Marietta Homeowners
The most common torsion spring failure we document in Marietta service calls doesn’t come from age. It comes from lithium-heavy lubricants trapping Georgia red clay grit inside the coil. That grit acts like sandpaper against the spring wire every time the door cycles, and the spring fails years before its rated life. This guide names the parts, the products, the intervals, and the measurable signs that maintenance actually worked, calibrated to what Marietta’s humidity and clay soil do to a garage door system. For related reading, see our Garage Door Warning Signs: A Marietta Homeowner’s Reference Guide. You’ll finish with a checklist you can complete without calling anyone, and a documentation log that makes your service history yours, not a company’s.
Quick Answer
A garage door maintenance checklist for Marietta homeowners means inspecting tension springs, rollers, hinges, cables, tracks, opener force settings, and weatherseal on a monthly visual cycle, with lubrication every six months using silicone spray on rollers and hinges and a silicone-based garage door lubricant on springs, plus two season-specific tasks: track cleaning in August and limit-switch adjustment checks in January. The goal is catching a $12 roller before it becomes a $280 spring replacement, and recording everything in a dated log so the history stays with you.
Table of Contents
- What Marietta’s Climate Actually Does to Your Garage Door
- The Lubrication Matrix: What Gets What, and What Gets Nothing
- The Monthly Visual Inspection: What to Photograph
- The Force Resistance Test: Checking Spring Balance Without Tools
- Seasonal Tasks: August Humidity and January Cold
- The Documented Log: Your Service History on Paper
- Brand-Specific Notes for LiftMaster, Chamberlain, and Genie
BeforeAfterWhat Marietta’s Climate Actually Does to Your Garage Door
Marietta sits in a humidity band that hovers between 65 and 80 percent from June through September. That moisture, combined with the fine red clay that makes up most of Cobb County’s soil, creates a specific wear pattern on garage door hardware. Clay dust gets airborne every time a car pulls in or out of a driveway. It settles on lubricated components. The lubricant holds it. And then the grinding starts.
We’ve opened enough Marietta garage door panels to know exactly which components fail first. The bottom rollers go before the top ones because they sit closest to the clay dust source. The torsion spring coils collect grit in the gaps between wire turns. The track itself, especially where the radius curve begins, develops a rust bloom that’s more cosmetic than structural, but signals that the galvanized coating is compromised.
Thermal contraction matters too. January nights in Marietta drop into the low 30s and occasionally below freezing. The opener’s limit switches, which tell the motor where “up” and “down” are, sit in a metal housing that contracts in cold weather. That contraction can shift the switch contacts by a fraction of a millimeter, which is enough to make the door reverse before fully closing or stop an inch short of the floor.
None of this is exotic. It’s the same failure list we see week after week in neighborhoods like East Cobb, Kennesaw Mountain, and Powder Springs. The good news is that most of it is preventable with a maintenance routine that takes about twenty minutes a month.
The Lubrication Matrix: What Gets What, and What Gets Nothing
Most maintenance guides say “lubricate moving parts” and leave it there. That vagueness is why we see doors caked in WD-40, which is a solvent, not a lubricant. It’s why we see white lithium grease smeared on torsion springs, which traps the exact grit that kills them. The matrix below names the component, the product type, the interval, and the sign that it worked.
| Component | Product Type | Interval | Success Indicator |
|---|---|---|---|
| Torsion springs | Silicone-based garage door lubricant, spray | Every 6 months | Coil surface feels damp, not greasy; no residue on your fingertip |
| Rollers (steel) | Silicone spray, not white lithium | Every 6 months | Roller spins freely; no black paste at the bearing |
| Hinges | Silicone spray | Every 6 months | Hinge pin moves without squeaking |
| Track interior | Nothing. Clean, don’t lubricate. | Monthly wipe | Dry to the touch; no sticky film |
| Opener chain or screw | White lithium grease (thin coat) | Annually | Chain moves without visible dry links |
| Locks and deadbolts | Graphite powder | Annually | Key turns without resistance |
| Weatherseal | Silicone dressing | Every 6 months | Rubber stays flexible; no cracking when pinched |
The critical distinction: torsion springs never get white lithium grease. That product is designed for high-load metal-to-metal contact, like a door hinge on a car. On a garage door spring, it creates a sticky film that holds clay dust. Every cycle grinds that grit deeper into the spring wire. The spring rubs against itself, and a clean break develops at the point of highest friction. We’ve documented this failure pattern hundreds of times in Marietta, and the common denominator is always the same lubricant choice.
What you’re looking for with any lubricant application is “damp, not wet.” If the component glistens, you used too much. Excess lubricant runs, drips, and collects dust. A light haze is the target.
The Monthly Visual Inspection: What to Photograph
The maintenance routine that actually prevents failure is visual. Most mechanical problems announce themselves before they become structural. A roller with a worn bearing shows a wobble. A hinge with a loose rivet shows wear marks. A spring about to break often shows a gap in the coil before it snaps. You just have to look.
Here’s the monthly checklist, in order. Each item takes less than two minutes.
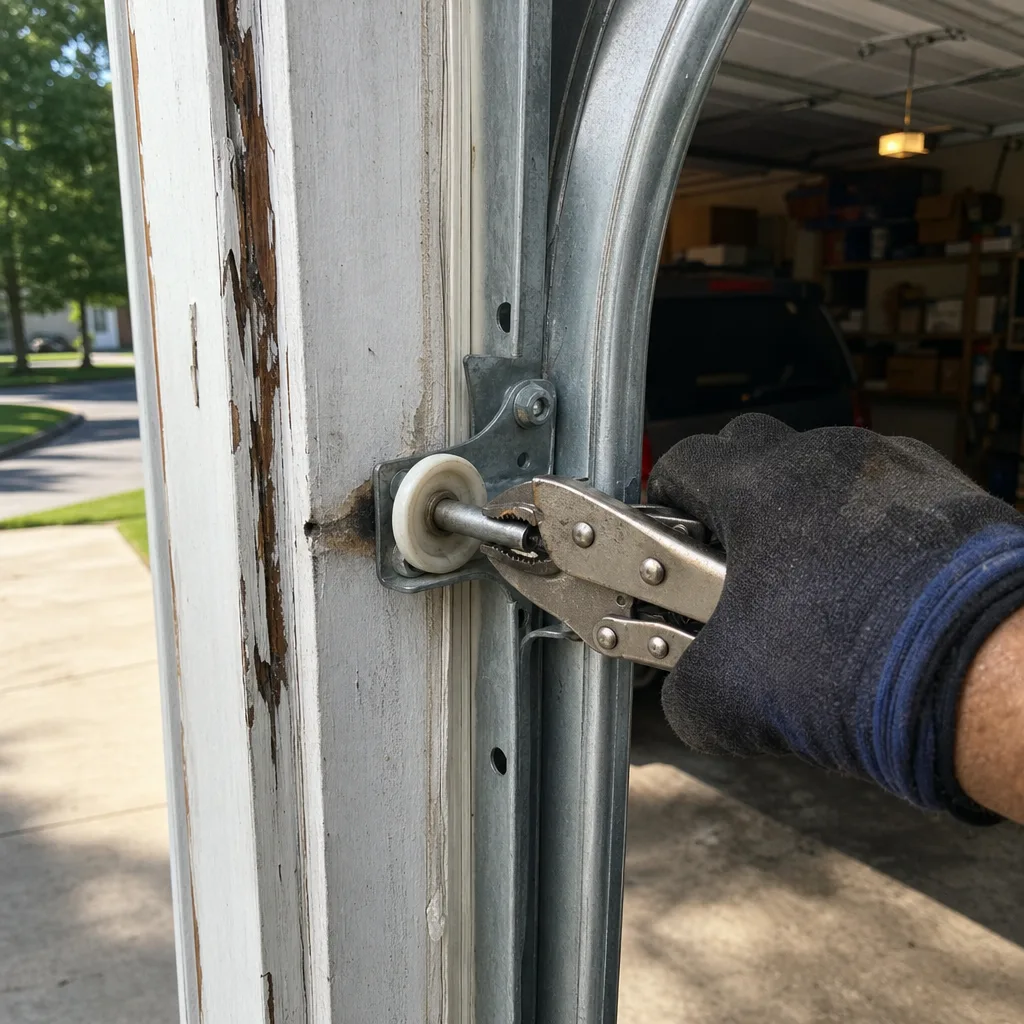
- Rollers: Look at each of the eight or ten rollers. A healthy roller spins without wobble. A roller with a worn bearing will show a slight side-to-side movement when you push on the wheel with your thumb. If the wheel is nylon and shows flat spots, or if the shaft has visible play, note it. A roller this worn is a $12 to $25 part that’s about to become a bigger problem.
- Springs: For torsion springs (mounted above the door, parallel to the header), look for any gap between coils. A healthy spring has coils that sit flush against each other. A gap means the spring is stretching. On extension springs (mounted along the horizontal track, above each side), look for a safety cable running through the center. If it’s missing, note it. The cable exists because extension springs become projectiles when they fail.
- Cables: Trace the lift cables from the bottom bracket up to the drum. Look for frayed strands, especially near the bottom bracket where moisture and clay dust concentrate. One broken strand means the cable is done. Don’t try to splice or tape it.
- Hinges: Check the rivets that hold each hinge leaf together. A hinge that’s coming apart shows a gap between the plates. Also check the screws that hold the hinge to the panel. Loose screws let the hinge twist, and a twisted hinge puts the panel under load it wasn’t designed for.
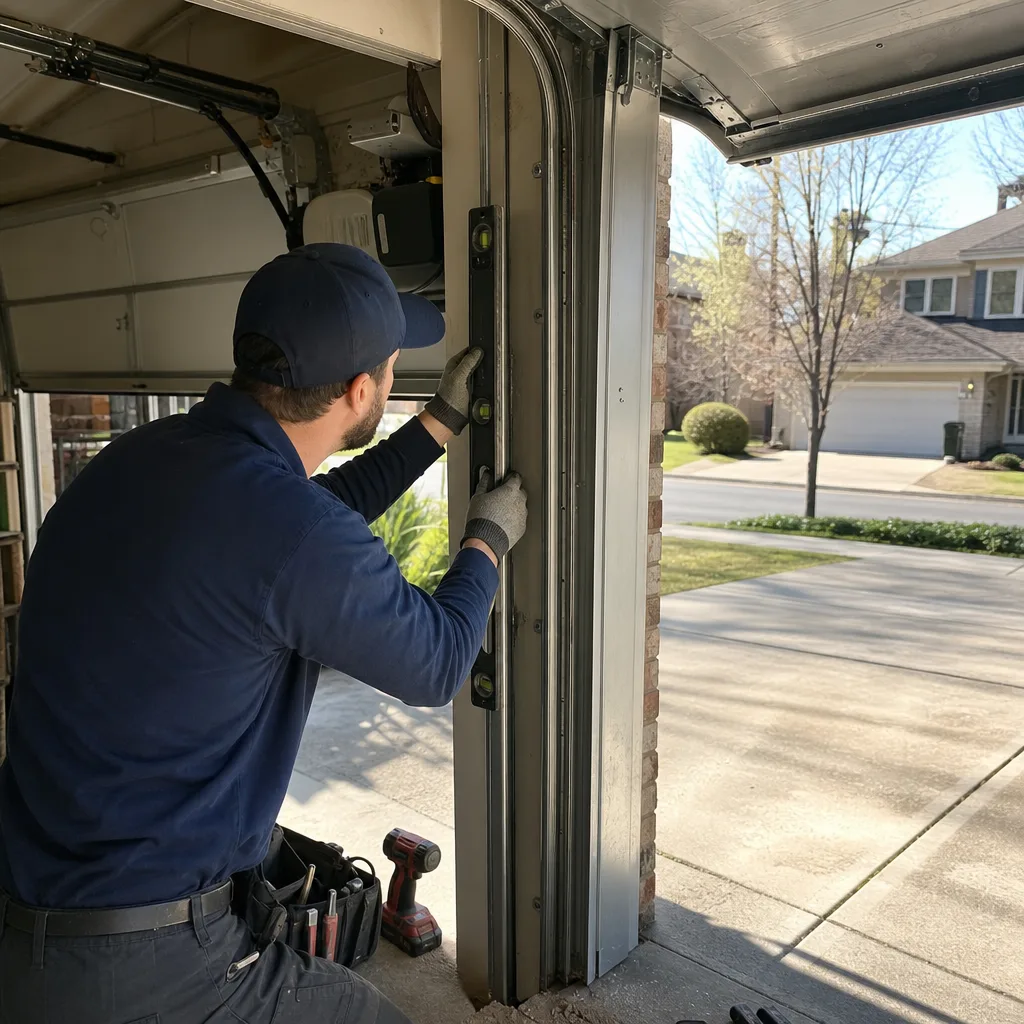
- Track alignment: Stand at the back of the garage and look down the track. Both vertical tracks should be parallel. The horizontal tracks should have a gentle down slope toward the opener. If you see a bow, a kink, or a gap where the track meets the upright, note it. Don’t try to straighten a bent track yourself, especially a vertical one under spring tension.
- Weatherseal: Pinch the rubber strip along the bottom. It should feel flexible and springy, not cracked or brittle. Check the side and top weatherseal too. The bottom seal takes the most abuse, especially in Marietta where driveway gravel and red clay settle against the door.
- Opener force settings: Place a 2×4 flat on the floor under the door path, then close the door. The door should reverse immediately on contact. This is the test the opener manufacturer requires in its own manual, and it’s the one most people never do.
Take a photo of anything you note. Your phone’s camera is the single best maintenance tool you own. A photo series over three months will show you a roller wearing, a hinge gap widening, or a spring stretching in ways your memory can’t. When you do eventually call a technician, these photos give them the failure timeline before they even look at the door. At Servo Garage Doors Marietta, our technicians do the same thing: they photograph what they find, in service reports we hand over after every visit. You deserve the same record on the maintenance side.
The Force Resistance Test: Checking Spring Balance Without Tools
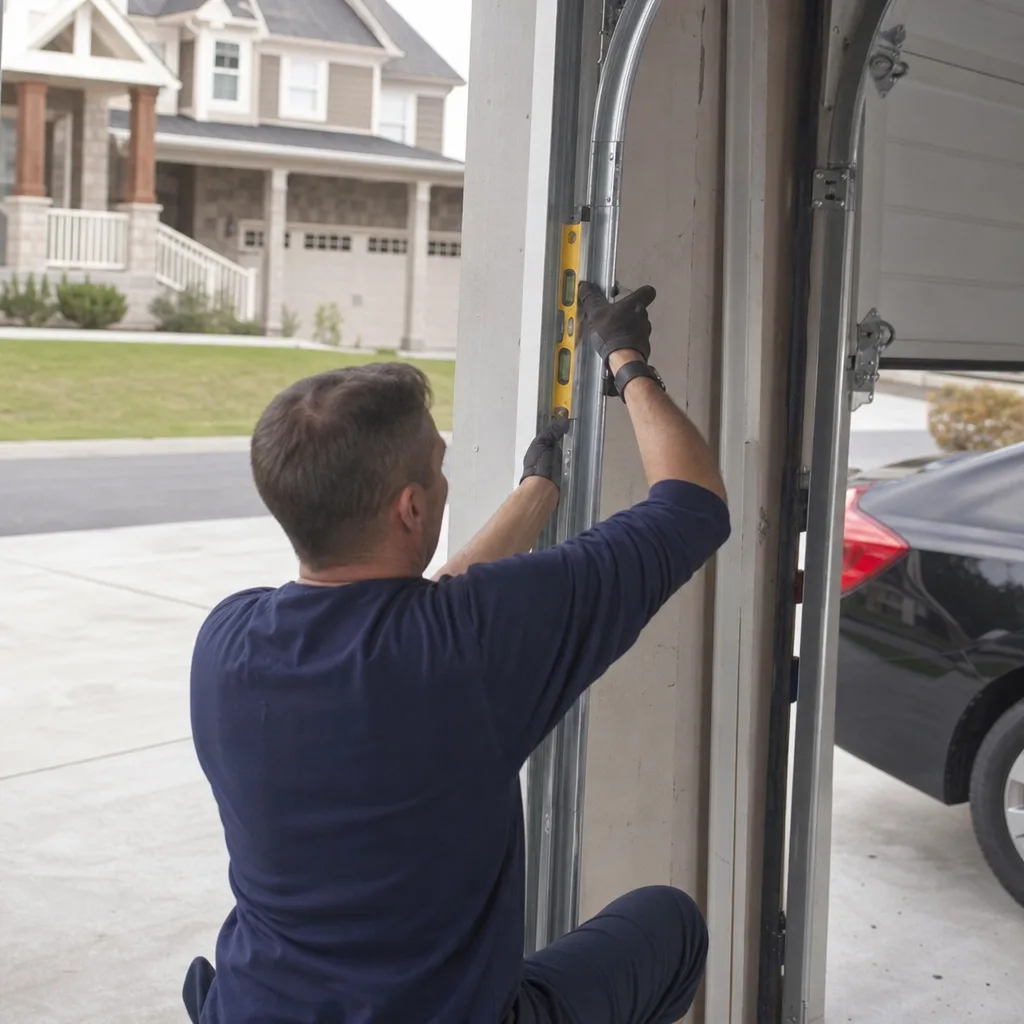
Your opener has a force setting. It’s the thing that tells the motor how hard to push before reversing. You can test whether your springs are correctly balanced by pulling the release cord and working the door manually. No tools required.
- Pull the red release cord. This disconnects the opener from the door.
- Lift the door by hand to waist height. A properly balanced door stays where you put it. It doesn’t drift up, and it doesn’t fall down.
- Lift it to the halfway point and let go. Same test. A balanced door holds position.
- Lower the door to about two feet from the floor. It should hold there too, with maybe a gentle settle.
What does the result tell you? A door that drops when released means the springs are worn and no longer counterbalancing the panel weight. A door that floats upward means the springs are over-tensioned, which is unusual but happens when someone has attempted a DIY adjustment. A door that holds at the halfway point but falls hard at the bottom means the spring is losing tension progressively, which is exactly what aging torsion springs do.
Here’s the thing most more guides & resources skip: this test tells you about the spring, not the opener. If you run this test and the door fails it, the fix is a spring replacement, not an opener adjustment. The opener’s force setting can compensate for a slightly weak spring for months, but it’s masking the problem. Every cycle the opener pushes harder to overcome the imbalance, and the gears wear faster. The failure you eventually see is an opener that grinds, but the root cause is in the spring above the door.
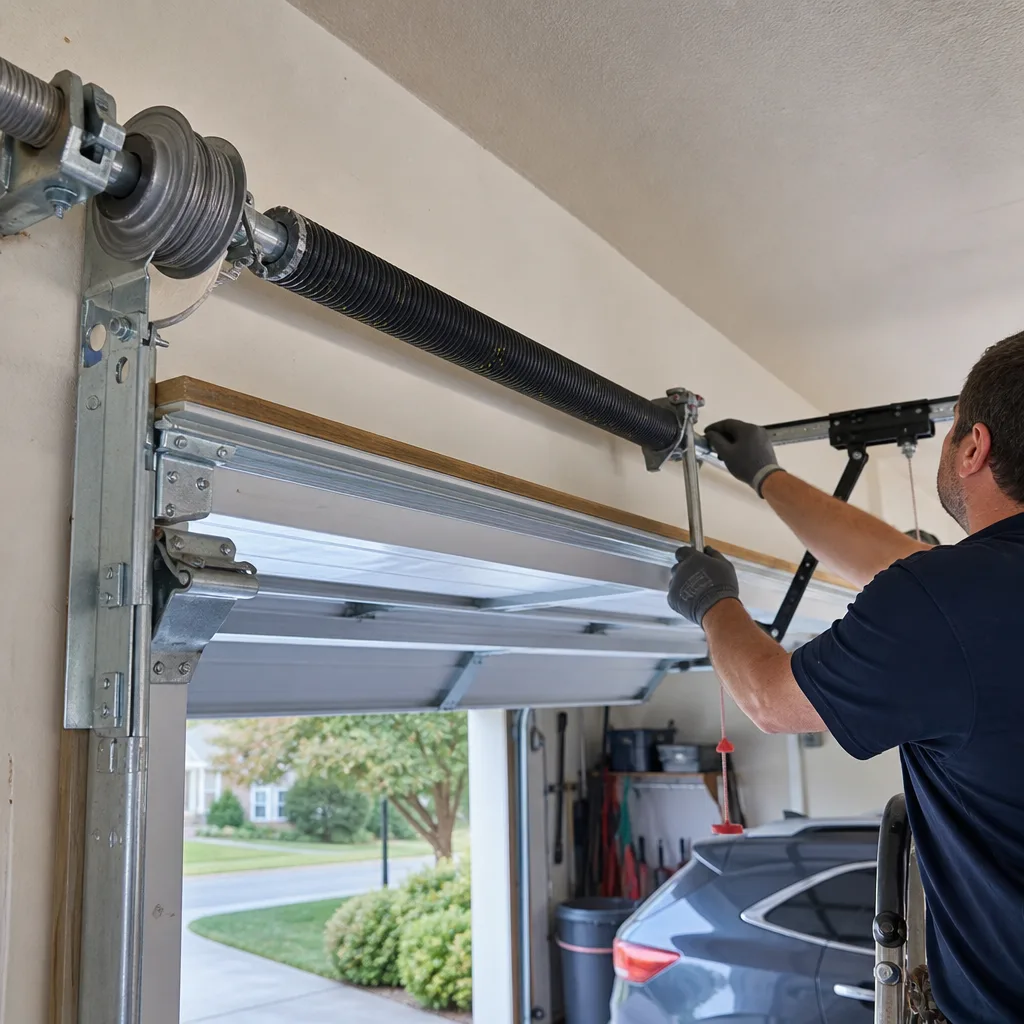
The spring is under tension that can exceed 200 pounds. Do not attempt to adjust or replace it yourself. The force test is a diagnostic only. If the door fails the test, call someone who does this work. We answer phones at our Marietta opener repair service with this exact conversation every week, and the first question we ask is what the door did when you ran the release test.
Seasonal Tasks: August Humidity and January Cold
Marietta has two maintenance seasons. August, when the track rusts and the clay dust is at its worst. January, when thermal contraction plays with the opener’s brain. Put these on the calendar.
August: Track Cleaning and Rust Check
Georgia’s August humidity holds moisture against the track surface for hours every morning. The galvanized coating on most tracks handles it fine for a decade, but the joint where the vertical and horizontal tracks meet, plus the bolt heads that hold the track to the wall, will show rust first. That rust is mostly cosmetic, but it signals that the coating has failed in those spots.
The task is simple: wipe the track interior with a dry microfiber cloth. If the cloth comes back red-brown, you’re wiping away clay dust that’s been glued in place by lubricant overspray. Wiping it dry is the maintenance. Then inspect the track bolts. If any show rust bloom, put a rust converter on them, not lubricant. Rust converter chemically neutralizes the corrosion and leaves a paintable surface. Silicone on a rusted bolt seals in the moisture and makes it worse.
January: Limit Switch Adjustment and Test
When a cold snap drops Marietta temperatures below 35 degrees, the metal housing of the opener’s limit switch assembly contracts. The contacts move slightly. The door may reverse before it closes completely, stop an inch above the floor, or open less than full height. The fix is a limit switch adjustment, which is a small screw on the opener body, not a part replacement.
The adjustment itself is straightforward for most LiftMaster and Chamberlain models: a quarter turn of the limit switch screw adjusts the travel distance by about two inches. The manufacturer’s manual shows the exact location for your model. But before you touch anything, record the current position of the screw. A mark with a pencil on the screw head and the surrounding housing lets you return to the original setting if the adjustment goes the wrong way.
If the limit switch adjustment doesn’t resolve the cold-weather issue, the problem may be in the logic board, which is not a homeowner repair. A Marietta garage door opener repair tech can test the board in about fifteen minutes, and the diagnosis should be documented in writing either way.
The Documented Log: Your Service History on Paper
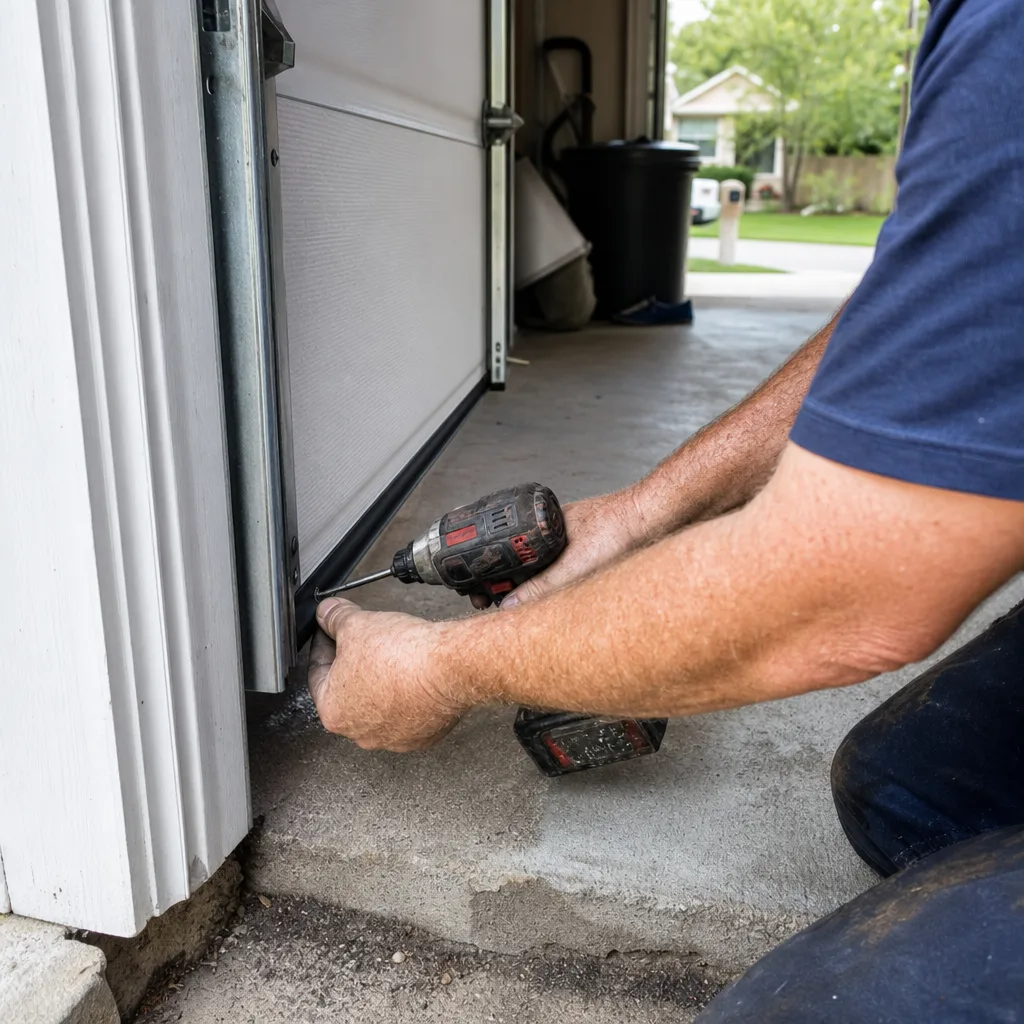
Here’s the format we use for our own service records, simplified for homeowner use. It’s the same structure a technician would fill out. You’re creating the same paper trail.
- Date: Month, day, year.
- Component inspected: Springs, rollers, hinges, cables, tracks, opener force setting, weatherseal.
- Condition found: One sentence. “Bottom left roller shows slight side-play” is a real log entry. “Looks fine” is not.
- Action taken: Lubricated, cleaned, photographed, noted.
- Photo reference: Your phone’s photo number or date, so the image stays linked to the entry.
- Next check: The next month or the next interval.
Keep this log in a plastic sleeve or a three-ring binder. Keep it in the garage. When you call a garage door company, you will have the full history of the door in your hand: what was lubricated and when, what roller showed wear in March, what the force test showed in July. The technician starts with a complete picture instead of an hour of diagnostics on a door that’s been ignored for years.
This is also the point where a paper trail matters for the big decisions. When a technician recommends replacing a spring or a roller, and you have a log showing that the part was lubricated on schedule and showed no wear six months ago, you have evidence. The conversation shifts from “trust me” to “show me,” which is exactly where it should be. We built Servo Garage Doors Marietta on that same principle: we show you the failed part before quoting a replacement, per Clause 4 of The Haven Standard, because the photo is the evidence, and the evidence is the point.
Brand-Specific Notes for LiftMaster, Chamberlain, and Genie
Marietta homes carry a mix of opener brands, and they’re not identical when it comes to maintenance. Here’s what matters for each of the three we see most often in Cobb County garages.
LiftMaster
Most LiftMaster models made after 2015 have a built-in diagnostic system that’s accessible through the “learn” button on the motor housing. The button flashes a code when the opener detects a fault: reverse sensor misalignment, force setting too high, or a wiring issue. The code is in the manual. If you’re running a maintenance check and the learn button is flashing, you have a diagnostic message waiting. Don’t ignore it and reset the opener to clear the code. The code is the opener telling you what’s wrong. Document it, look it up in the manual, and address it.
Chamberlain
Chamberlain owns LiftMaster, and the two brands share many internal components, but Chamberlain’s consumer-grade openers have a nylon gear that’s the most common failure point we see in Marietta. The gear, which transfers motor rotation to the chain or belt, wears down over 8 to 12 years of daily cycling. The symptom is a grinding sound that’s easy to mistake for a chain problem. If you hear grinding, disconnect the opener with the release cord and run the door manually. A smooth manual operation means the door is fine and the opener gear is the issue. A rough manual operation means the door hardware itself needs attention first.
Genie
Genie’s screw-drive openers dominate a significant slice of the Marietta market, especially in homes built in the late 1990s and early 2000s. The screw is the drive mechanism, and it needs a specific lubricant: white lithium, applied sparingly, annually. Too little lubricant and the screw chatters. Too much and the lubricant drips onto the carriage and attracts clay dust. The sweet spot is a thin coat applied with a rag, not a spray bomb. If the screw-drive Genie chatters even after a proper lubrication, the carriage is worn, and the repair is a carriage replacement, not more grease.
Common Mistakes to Avoid
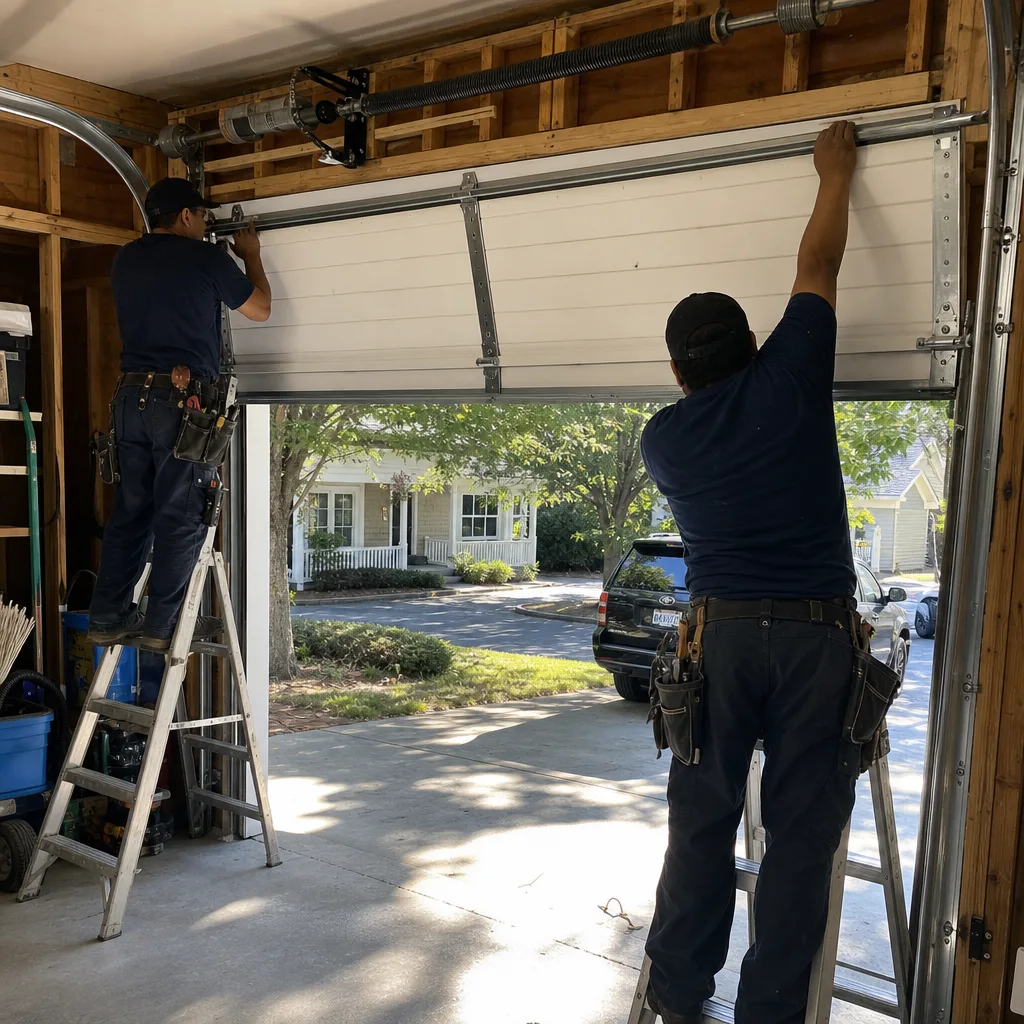
- Using WD-40 on anything. WD-40 is a water displacer and solvent, not a lubricant. It strips what little lubrication is present. Use silicone spray for most components, and you’ll avoid the single most common mistake we see in Marietta garages.
- Putting white lithium grease on torsion springs. It’s the leading cause of premature spring failure we document. The grease traps red clay dust, and the clay grinds the spring wire from the inside of the coil.
- Oiling the track. Tracks are designed to run dry. Lubricant on the track interior creates a sticky paste with clay dust that the rollers have to push through, which increases wear on the roller bearings.
- Skipping the force test because “the door works fine.” A door that works fine with a weak spring is still working against the spring. The opener is pushing harder, and the gears are wearing faster. The force test is a thirty-second check that catches this before the opener fails.
- Tightening a spring bolt without knowing the spring’s tension state. Torsion springs hold enormous energy. A bolt on a spring cone is not like a bolt on a shelf. This is the one task where a YouTube tutorial is genuinely dangerous, not just inadequate.
- Not documenting anything. An undated inspection is a memory, not a record. The log format above exists because memory is not evidence.
- Waiting for a symptom before doing maintenance. The whole point of a checklist is that the door doesn’t tell you when it’s about to fail. The check is the warning system.
When to Call a Professional
A failing torsion spring makes a sound like a rifle shot, and then the door won’t lift. A frayed cable means the door should be disconnected and left closed until the cable is replaced. A bent vertical track under spring tension is a stored-energy hazard. A logic board that’s throwing fault codes that don’t correspond to a physical issue needs a technician with testing equipment. None of these are homeowner repairs.
If your door fails the force test, shows a spring gap, or shows roller wobble you’ve documented over multiple months, call and get the problem addressed before it becomes an emergency. Servo Garage Doors Marietta offers Garage Door Repair services with free estimates in Marietta, and every quote is a flat written price delivered before any work starts, per Clause 1 of The Haven Standard. Call (470) 486-7771.
Frequently Asked Questions
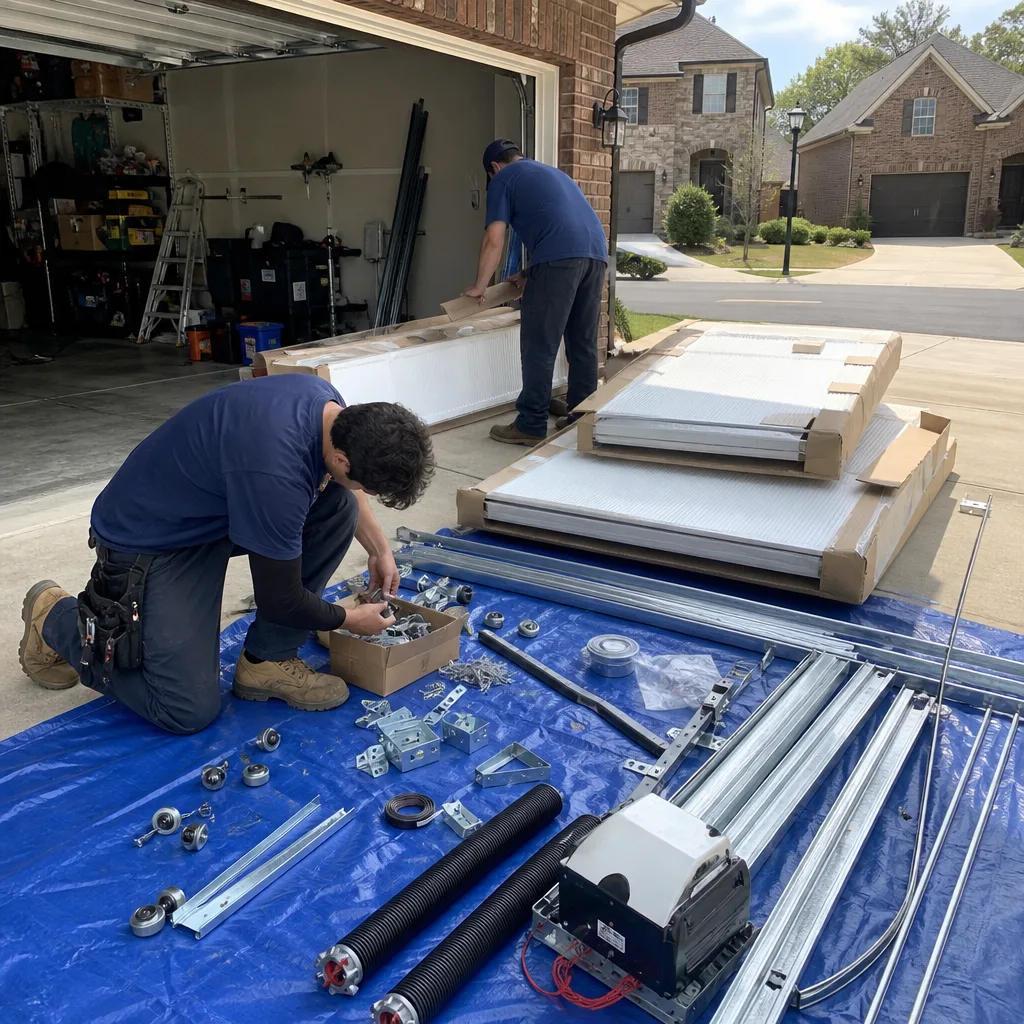
Every six months, using silicone spray on rollers, hinges, and torsion springs, and white lithium grease only on the opener chain or screw drive if your model calls for it. Marietta’s clay dust means you should wipe down components with a dry cloth before applying fresh lubricant, not over the old film.
White lithium grease is a heavy lubricant for metal-to-metal contact under high load, and it’s wrong for springs because it traps grit. Silicone spray is a light lubricant that coats without building a sticky film, which is what you want on components exposed to Marietta’s clay dust.
Run the force test: disconnect the opener with the release cord and lift the door manually. If the door drops at the halfway point or won’t hold position at waist height, the springs have lost enough tension that replacement is the fix, not adjustment. A visual gap between torsion spring coils is another clear indicator.
Yes, if you can find the adjustment screw, which is on the opener body for most LiftMaster and Chamberlain models. Mark the current screw position with a pencil before you turn it, so you can return to the original setting. If the cold-weather closure issue persists after a quarter-turn adjustment, the problem is likely in the opener’s logic board, and that’s a technician job.
The metal housing around the limit switch contracts in cold weather, shifting the switch contacts slightly. The door thinks it’s reached the floor when it hasn’t. A small limit switch adjustment usually resolves it. If it recurs every cold snap, document the dates and call a technician, because intermittent limit switch faults sometimes point to a failing logic board.
If you do the monthly checklist and semi-annual lubrication yourself, the cost is two hours a year and about $15 in products. A professional maintenance visit in Marietta typically runs $75 to $150 depending on what’s included, and we quote that as a flat written price before the work begins. Not sure who to trust? Read our How to Hire a Garage Door Contractor in Marietta: A Step-by-Step Guide. Call (470) 486-7771 for an exact number.
The Bottom Line
A Marietta garage door survives on a six-month lubrication cycle with the right products, a monthly visual inspection with photographs, a force test that catches spring fatigue before the opener burns out, and a written log that turns maintenance into a paper trail. August means track cleaning and rust checks. January means limit switch adjustments. The parts that fail first in this climate are the same ones that fail first everywhere, but the red clay dust accelerates the timeline. Document everything. Photograph everything. When you need a second pair of eyes, the record is ready, and so is the phone.
Written by Marcus Deller, Owner at Servo Garage Doors Marietta, serving Marietta since 2015.